The short answer
How to Hang Wall Art: On an open wall, hang art so its centre sits 145 to 155 cm from the floor. Above furniture, leave a gap of about 20 to 25 cm above a sofa or sideboard and 20 to 30 cm above a bedhead, and space pairs 5 to 8 cm apart. Use fixings that suit your wall: screw into a stud or use a rated plasterboard anchor, use masonry plugs in brick or block, and for large framed pieces such as 83 × 118 and 100 × 150 cm, use two hooks fixed into studs or masonry. If in doubt, call a handyman.
Hanging art is one of those jobs that looks simple until you're standing on the sofa with a hammer, guessing. A few numbers and the right fixing for your wall make all the difference. This guide covers how high to hang, how to space pairs and groups, a step-by-step method with the tools you'll need, and how to fix into the wall types you'll find in Australian homes, from plasterboard to besser block, plus options for renters.
How high to hang art
The 145 to 155 cm centre rule
Galleries hang art so the centre of the piece sits at about average eye level. For a wall without furniture in front of it, aim for the centre of the frame to sit 145 to 155 cm from the floor. Use the lower end in rooms where people mostly sit, and the upper end in entries and hallways where people stand and walk past, or if your household is tall.
The rule applies to the centre, not the top or the bottom, so it works for every size. A small 30 × 42 cm print and a large 83 × 118 cm print hung on the same wall share the same centre line, which keeps a room feeling calm and consistent.
Above furniture
When art hangs over furniture, it should relate to the furniture rather than float above it. Use the furniture as your reference instead of the centre rule:
| Hanging above | Gap from top of furniture to bottom of frame |
|---|---|
| Sofa | 20 to 25 cm |
| Bed | 20 to 30 cm above the bedhead |
| Sideboard, buffet or console | 15 to 25 cm (allow for lamps and objects) |
| Dining table, art on the wall beside it | Centre at 145 to 155 cm, or a little lower so it reads from a seated position |
| Desk | 20 to 25 cm, clear of monitors |
Any higher and the art and furniture stop reading as one composition. Over a bed, also think about whether people will sit up against the bedhead: with an upholstered bedhead the gap can be on the smaller side, but leave enough room that heads won't touch the frame.
Hanging art beside a staircase
On stairs, keep the centre of each piece 145 to 155 cm above the stair nosing directly below it, so a series steps up in line with the stairs.
Spacing pairs and gallery walls
- Pairs: leave a gap of 5 to 8 cm between frames. Line up the top and bottom edges, and treat the pair as one piece when you centre it over furniture. Our pairs are designed to hang this way. For more ideas, see how to style a pair of prints.
- Rows of three or more: keep the gaps identical, usually 5 to 8 cm for medium prints and up to 10 cm for large ones.
- Gallery walls: keep gaps consistent at 5 to 8 cm, and treat the whole arrangement as one block whose centre sits at 145 to 155 cm, or 20 to 25 cm above the furniture.
- Mixed sizes: either line up the centres along one horizontal line, or line up the bottom edges if they sit on a shelf or above a console.
Plan arrangements on the floor first, then trace each frame onto paper, cut out the shapes and tape them to the wall. Mark the hook position on each template so you can drill straight through the paper.
What you'll need
- Tape measure and pencil
- Spirit level, or a laser level for pairs and groups
- Low-tack painter's tape and paper or cardboard for templates
- Stud finder (for plasterboard walls)
- Drill with suitable bits (masonry bits for brick and block)
- Fixings to suit your wall: screws, plasterboard anchors or masonry plugs, rated for the job
- Picture hooks rated for the weight of your piece
- A helper, especially for large frames
Step by step: hanging a framed print
- Choose the position. Decide what the art relates to (the wall, a sofa, a bed) and mark the horizontal centre point with painter's tape.
- Work out the height. Either mark the centre at 145 to 155 cm from the floor, or measure the gap above the furniture and mark where the bottom of the frame will sit.
- Measure the frame. Note its height, and check the back to see what hanging hardware it has. A wire and fixed D-rings behave differently.
- Measure the drop. With D-rings, measure from the top of the frame to the hanging point. With a wire, pull the wire up taut toward the top of the frame as it would sit on a hook and measure from that point to the top. That distance is your drop.
- Mark the hook position. Find where the top of the frame will be, measure down by the drop, and mark it. For two hooks, mark both at the same height, an equal distance either side of centre, and check them with a level.
- Check behind the wall. Use a stud finder and avoid drilling directly above or below power points and switches, where cables commonly run. If you're unsure what's in the wall, stop and get advice.
- Fix the hooks using the right fixing for your wall type (see below).
- Hang and level. With a helper, lift the frame onto the hooks, then adjust until it's level. Two hooks help a frame stay straight.
- Stand back. Check it from the doorway and from where you'll sit. Small adjustments now save a second hole later.
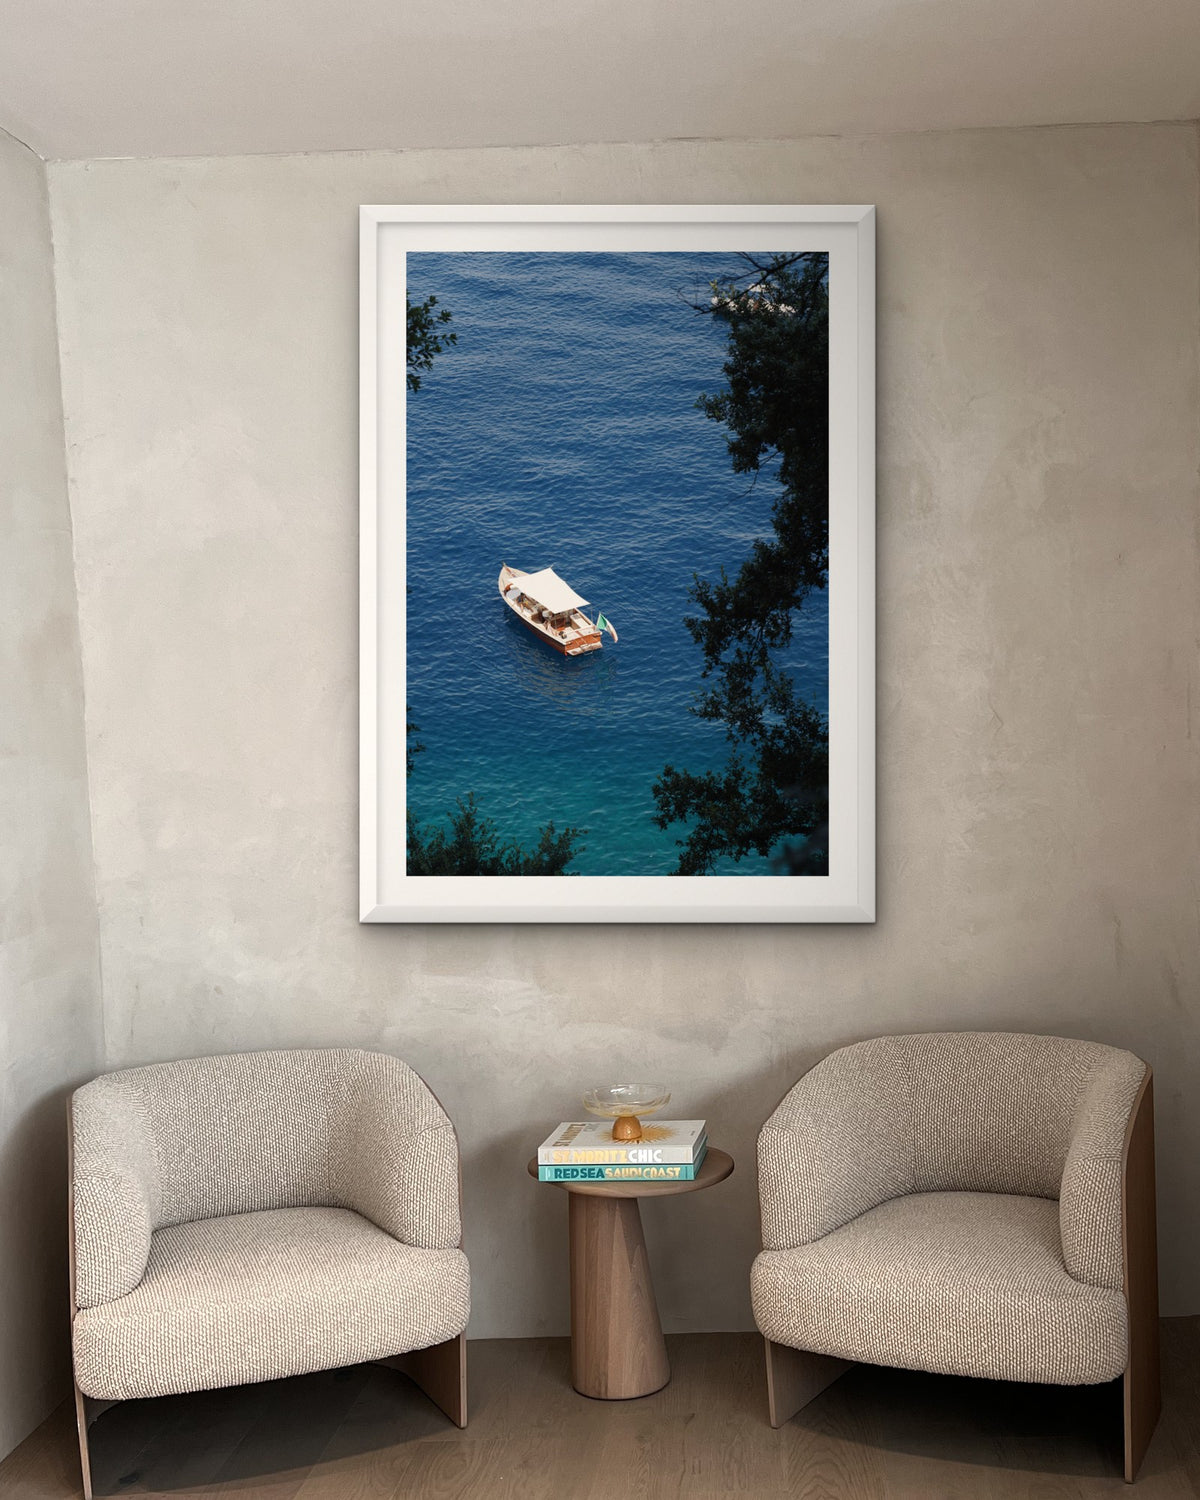
Dropping Anchor, framed, in a room.
Fixing into Australian wall types
The right fixing depends entirely on what's behind the paint. Tap the wall: a hollow sound usually means plasterboard on a frame, and a solid sound usually means masonry. If you're still unsure, a small test hole in a spot the art will cover tells you a lot from the dust that comes out (white for plaster, red or grey for brick or block).
Plasterboard over timber or steel studs
This is the most common internal wall in Australian homes built in recent decades. Studs are typically spaced at 450 or 600 mm centres.
- Into a stud (best): use a stud finder, then screw a hook or a screw directly into the timber stud. This is the strongest fixing in a plasterboard wall. For steel studs, use screws suited to steel.
- Between studs: use a plasterboard anchor rated for the weight, such as a spring toggle, a metal hollow-wall anchor or a self-drilling plasterboard anchor. Check the rating on the packet and stay well within it.
- Avoid plain nails or small plastic plugs in plasterboard alone for anything other than very light pieces.
Brick, besser block and other masonry
- Use a masonry bit in a hammer drill, then a wall plug and screw sized to suit.
- Besser block (hollow concrete block) can have voids inside. If the drill suddenly breaks through, you've hit a core, so use a fixing designed for hollow masonry.
- Drilling into the mortar joint is easier but generally weaker than the brick or block itself. For heavier pieces, fix into the solid face.
Rendered masonry
Render is a coating over brick or block. Drill through it with a masonry bit and fix into the masonry behind with plugs and screws, as above. Drill slowly to start so the render doesn't chip around the hole.
Timber VJ and slat walls
- VJ (vertically jointed) boards, common in Queenslanders and older homes, are usually fixed to studs or noggings. A screw into the board can hold a light piece; for heavier pieces, find the framing behind and screw into that.
- Timber slat walls are usually battens over a substrate. Fix into the substrate or framing behind, not just the slat, and position the hooks in the gaps or through a slat into solid backing.
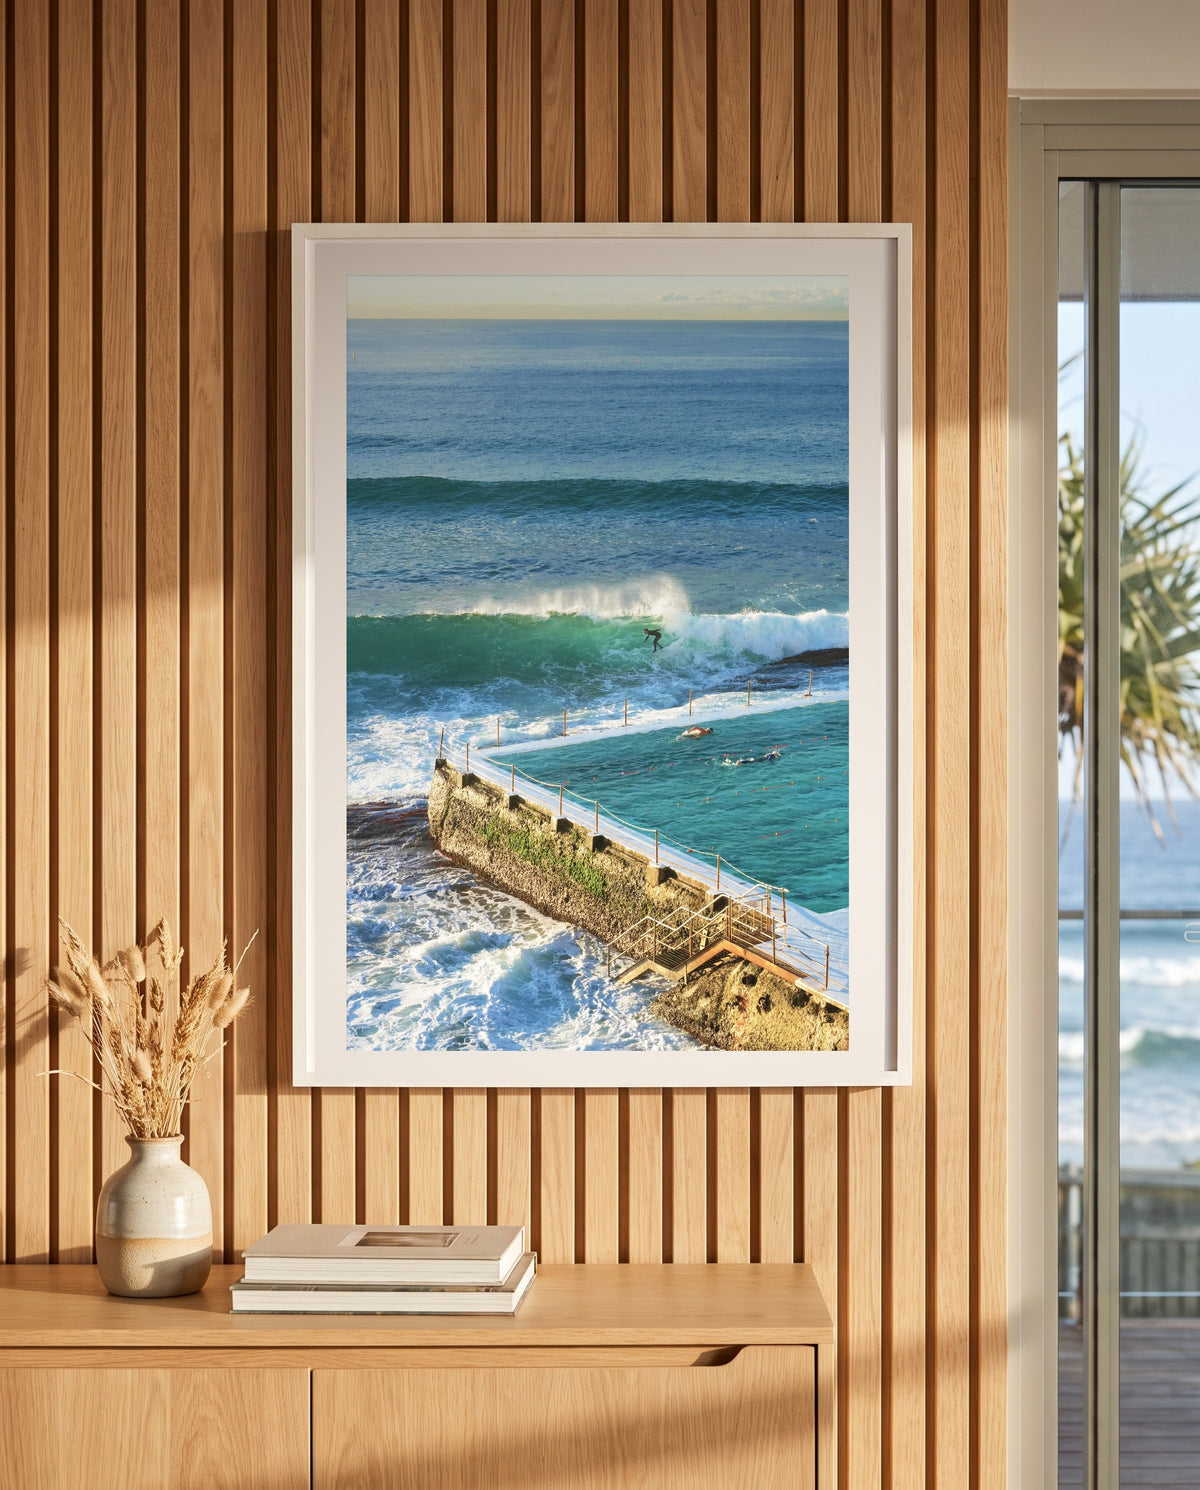
Surfing at Bondi Icebergs, framed, on a timber slat wall in a coastal living room.
Large framed pieces: 83 × 118 and 100 × 150 cm
Our largest framed sizes come with shatter-resistant acrylic and a deeper 45 mm frame, for safety and weight. They are substantial pieces and need to be hung properly:
- Fix into studs or masonry, or use heavy-duty anchors rated well above the weight of the piece.
- Use two hooks, spaced apart and level. Two points spread the load and stop the frame tilting.
- Weigh it before you hang it. Stand on bathroom scales holding the frame, then subtract your own weight, and choose hooks and anchors rated comfortably above that.
- Use two people to lift and hang.
- Avoid hanging large pieces directly over where someone sleeps unless the fixings are solid. Many people prefer a smaller size above a bed for peace of mind.
If you're not confident about your wall or fixings, a local handyman can hang a large piece quickly and correctly. It's a small cost next to the value of the art.
Rental-friendly options
Check your lease and ask your property manager before drilling. Many will agree to a small number of picture hooks, especially if you offer to patch the holes when you leave. If drilling isn't an option:
- Picture rails: many older homes have a timber rail near the ceiling. Picture rail hooks with cord or wire let you hang art without touching the wall. Check the rail is sound and the hooks are rated for your piece.
- Adhesive strips and hooks: only for light, small pieces, such as a small unframed print or a small light frame. Follow the weight rating on the packet, stay well under it, and prepare the surface as directed. They are not suitable for large framed or glazed pieces.
- Lean, don't hang: a framed print leaning on a sideboard, shelf or picture ledge looks relaxed and needs no fixing. Keep it stable and out of reach of small children and pets.
Common hanging mistakes
- Hanging too high. The most common one. Stick to 145 to 155 cm to the centre, or 20 to 25 cm above furniture.
- Centring on the wall instead of the furniture when the sofa or bed is off-centre.
- Uneven gaps between pairs and groups. Measure every gap.
- Forgetting the drop on a wire, which leaves the art sitting lower than planned.
- Under-rated fixings in plasterboard for heavy pieces.
- Direct sun. Avoid walls that get strong direct sunlight. Read caring for art prints in coastal homes for more.
Checklist
- Centre at 145 to 155 cm, or 20 to 25 cm above sofas and sideboards, 20 to 30 cm above bedheads.
- Pairs and groups spaced 5 to 8 cm, edges aligned.
- Drop measured from the hanging hardware to the top of the frame.
- Wall type identified and fixings rated well above the weight.
- Large framed pieces: two hooks, into studs or masonry, two people to hang.
- Renting: permission first, or picture rail hooks, or lean it.
Still choosing a size? Start with our wall art size guide, and see framed or unframed to decide on a finish.
Shop the edit


Frequently asked questions
How high should a picture be hung on a wall?
On an open wall, hang it so the centre of the frame is 145 to 155 cm from the floor. Above furniture, leave 20 to 25 cm between the top of the sofa or sideboard and the bottom of the frame.
How high should art be above a bed?
Leave about 20 to 30 cm between the top of the bedhead and the bottom of the frame, and centre the art on the bed rather than the wall.
How far apart should two pictures be?
Five to 8 cm between frames works for most pairs. Line up the top and bottom edges and centre the pair as one piece.
Can I hang a large picture on plasterboard?
Yes, if you fix into the studs or use heavy-duty plasterboard anchors rated well above the weight of the piece. For large framed pieces, use two hooks. If you're unsure, ask a handyman.
Will adhesive strips hold a framed picture?
Adhesive strips are only suitable for light, small pieces within the weight rating on the packet. Don't use them for large framed or glazed art.
How do I hang art in a rental without drilling?
Use picture rail hooks if your home has a picture rail, lean framed pieces on a sideboard or ledge, or use adhesive strips for small, light pieces. Otherwise, ask your property manager about putting in a few hooks.
Planning a wall? Send us a photo and its measurements and we'll mock up any print at true scale, free, so you know exactly where it will sit. Request a free mock-up or try the wall tool.
The method above suits plasterboard walls in most newer homes, from Brisbane and the Gold Coast to Melbourne and Perth. In older Sydney and Adelaide homes with brick or lath-and-plaster walls, use fixings made for that wall type, or ask a local handyman.
← Older post Newer post →